
Make Your Own Gear - Quilts


2010 Two-Person Quilt
In the late 70s my wife and I bought a pair of REI rectangular sleeping bags, one lighter weight the other heavier weight. We would zip them together and use whichever one on top that best fit the temperature conditions. I figured out that if I sewed a nylon under sheet with matching zippers we could eliminate one of the bags during our backpacking trips. Imagine cutting our sleeping bag weight nearly in half. About this time Thermarest came out with their first self-inflating mattresses and we immediately bought a pair. I added short pockets at each end of the sheet to keep the mattresses in place.
In 2010 I purchased a pair of lighter Thermarest Neoair inflatable mattresses and made a fitted sheet to keep them tightly side-by-side. I purchased some sleeping bag fabric and 9 ounces of down to make a custom two-person quilt. I used mosquito netting for the baffles. I devised a way to handle the down and put the exact number of grams of down into each baffle. See Working With Down in a later section.


2017 Vapor Barrier Quilt
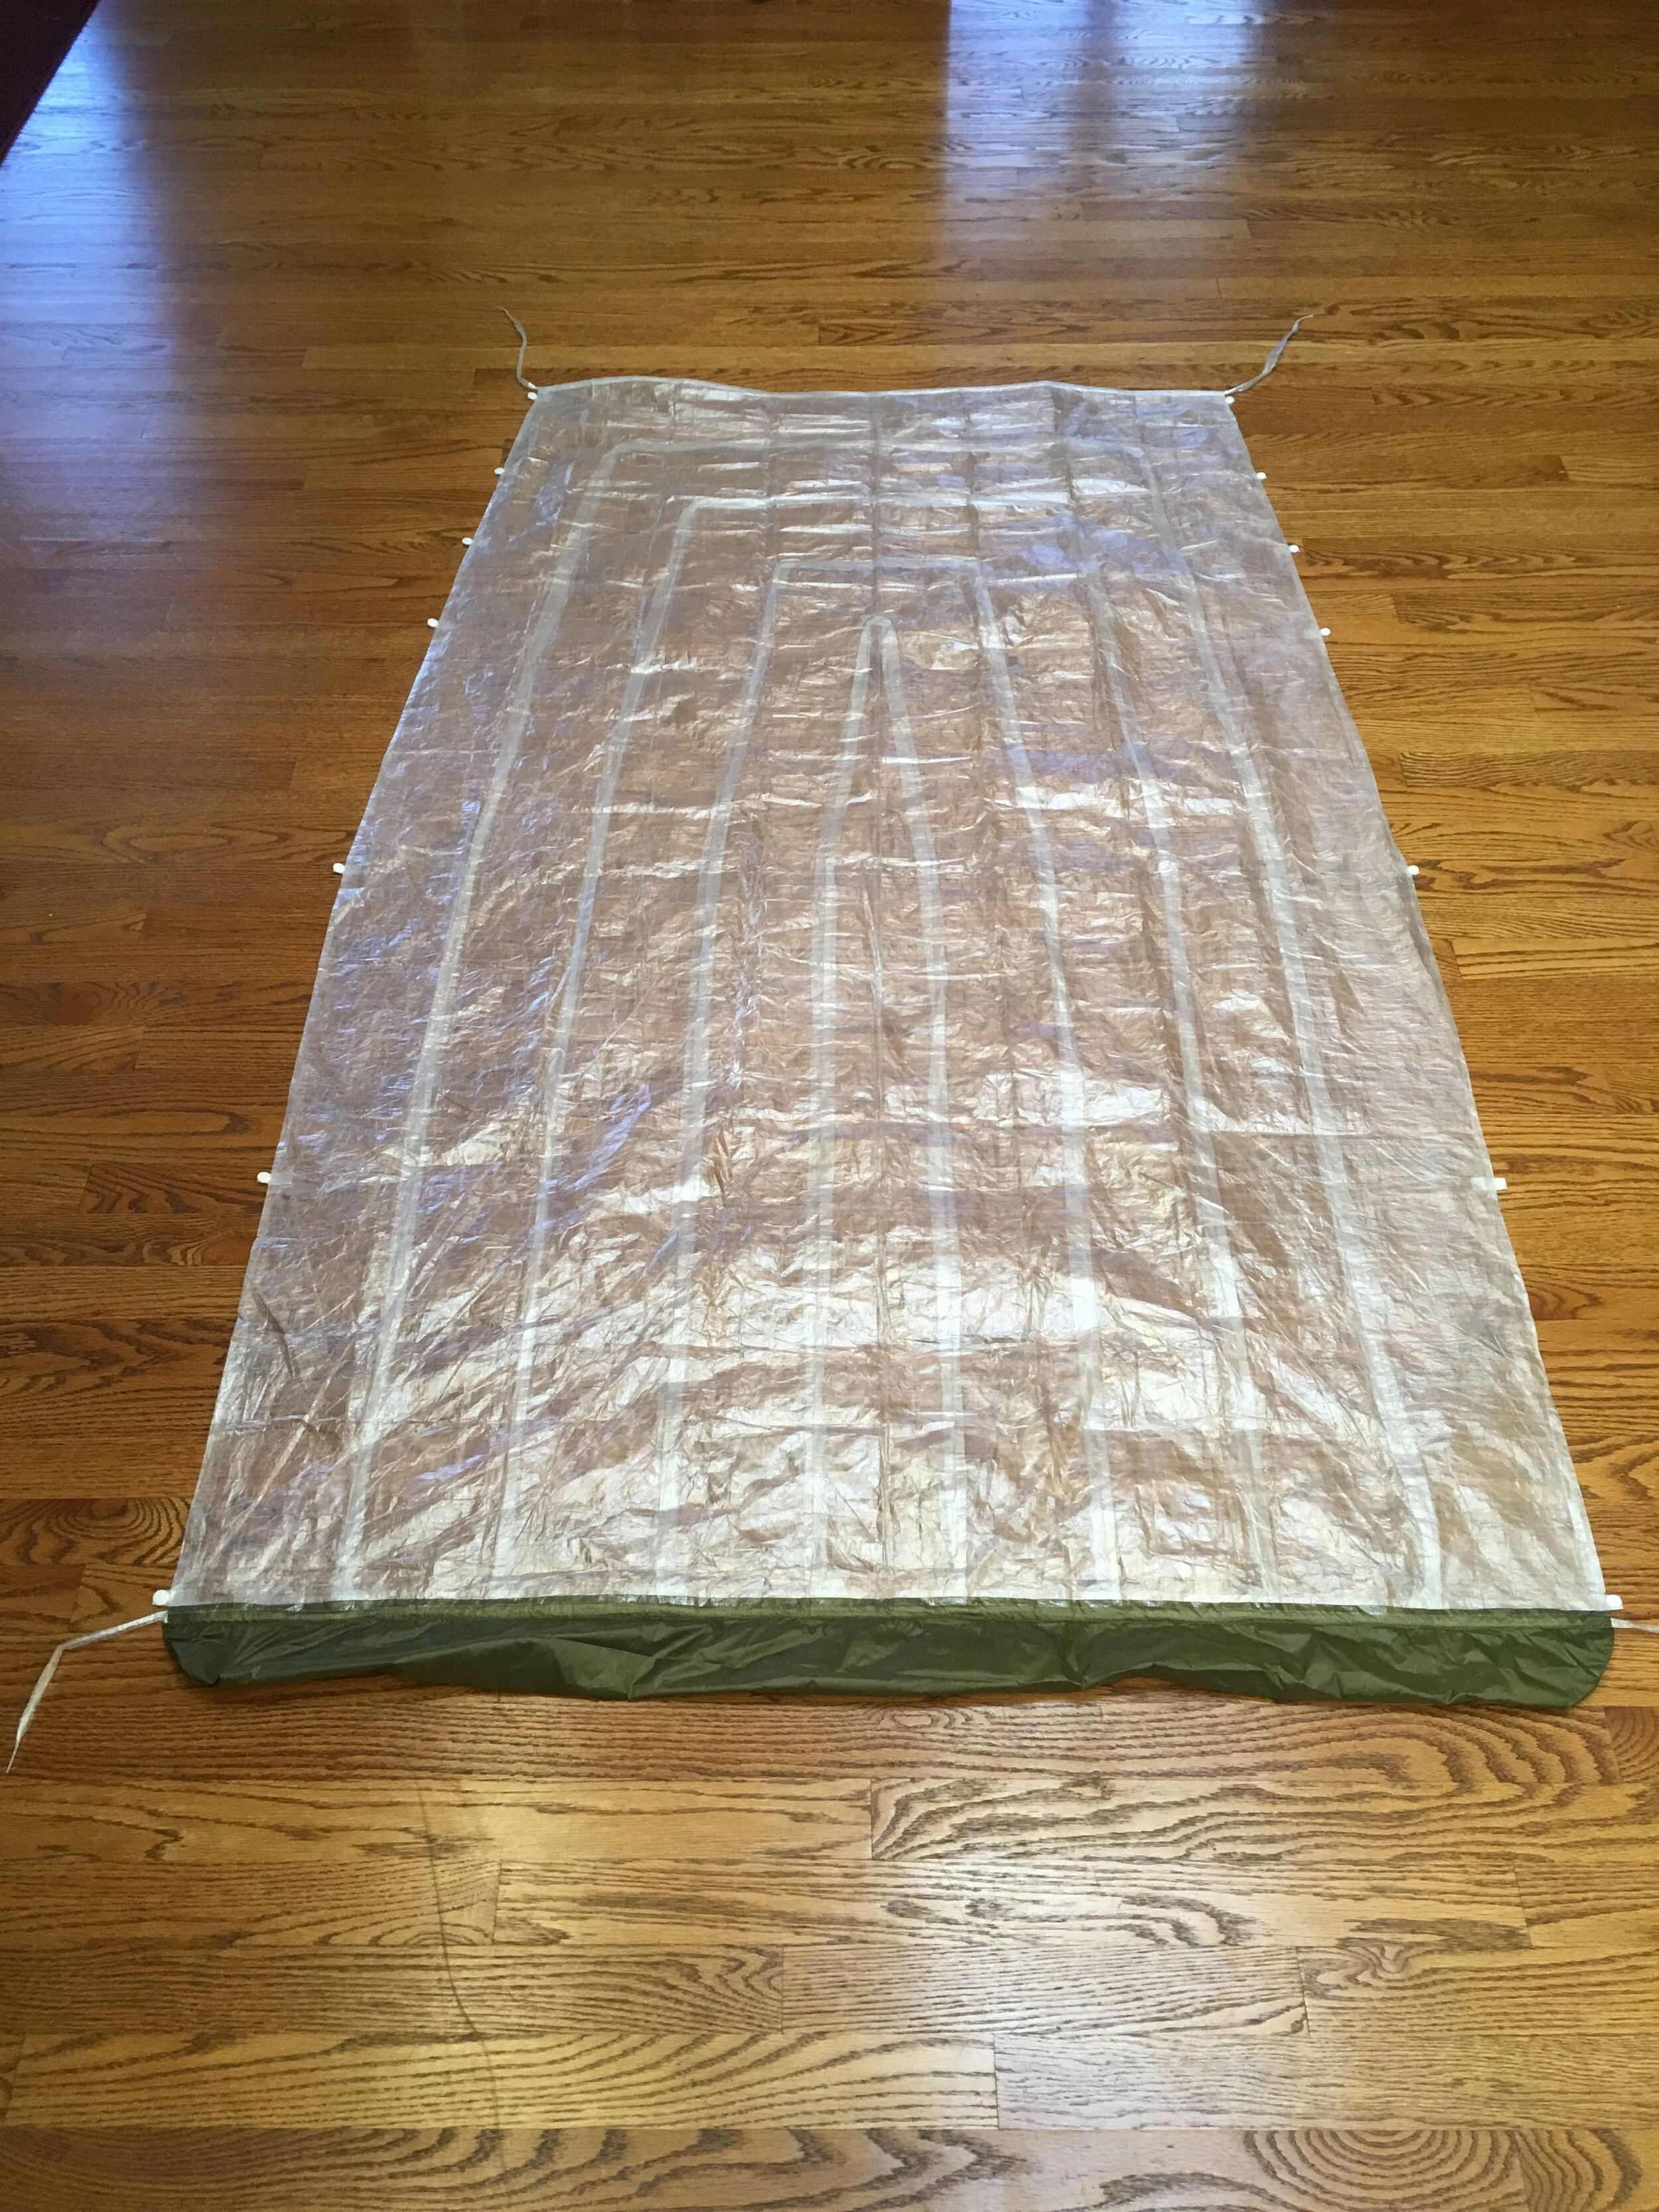
This quilt was designed for my 2017 thru hike from Boulder to Durango. It uses .34 osy Dyneema Composite Fabric (DCF) for the shell and the baffles. The baffles are taped to the shell to avoid stitching holes. It is essentially a vapor barrier bag that is completely waterproof from the neck down to keep the down from absorbing perspiration. The collar is .56 oz MEMBRANE 7 Ripstop Nylon that is soft to the face and enables the quilt to be compressed by letting air escape.
11.8 total ounces
0.34 osy Dyneema Composite Fabric
Vertical baffles prevent down from shifting to the side while sleeping
U-shaped baffles reduces the length of the baffle material to save weight
Snaps attach to a Thermarest Neoair inflatable mattress
8.46 ounces of pure white 900 fill power goose down
Unfortunately the DCF fabric shrank approximately 8% in all directions making the quilt unusable for a person my size. Perhaps I need to allow for this by making the quilt ~10% larger. I might also experiment with laying the fabric out in the sun to pre-shrink it before fabrication.


Working With Down
Working with down can be intimidating. I devised a way to handle down without making a huge mess. Each baffle in a tapered quilt will need a different amount of down. For our two-person quilt there were 9 different baffle sizes with down content ranging from 21.1 to 34.5 grams. The goal was to place precisely the right amount of down in each baffle. As you can see from the photo each baffle got just the right amount of down.
Equipment:
Bag of down fibres
Backpacking tent set up indoors
Digital scale that can accurately measure to tenths of a gram
Pair of equal length plastic tubes cut from a florescent light protection tube purchased at the hardware store
Wooden dowel longer than the tubes
Remote control outlet switch to turn on/off a vacuum cleaner
Vacuum cleaner hose with mosquito netting taped over the end
Roll of masking tape
Instructions:
Finish your product but leave the end of each baffle partially open for inserting the down.
Set up the tent in an indoor location to avoid any breeze.
Run the vacuum hose into the tent from a vacuum cleaner outside connected to a remotely switched outlet.
Bring your product and the other equipment into the tent and close the door. You may want to shower and wear a bathing suit so that the few down fibres that escape don’t stick to you.
Make a small opening in the bag of down big enough to fit a plastic tube and your hand.
Push down into the tube with your hand. The down will bunch up in the tube and not fly out the opposite end.
Zero your scale with the empty tube and weigh the tube with the down. The reading will give you the number of grams of down in the tube.
Adjust the amount of down in the tube to what you need for each baffle.
Insert the tube of down into the products baffle opening and push the down into the baffle with the wooden dowel.
Temporarily tape the baffle closed with masking tape until you go outside the tent and sew the baffle openings closed.
Repeat for each baffle.
After you are finished with each baffle you will likely have a few down fibres that have escaped. Vacuum them up with the hose and then retrieve the down fibres from the mosquito netting and put them back in your bag of down for the next project.
Congratulations!